in

Microsoft Planner Best Practices – 2024

Microsoft Planner Best Practices

Just googled Microsoft Planner best practices? Are you tired of using sticky notes and Excel sheets to manage your team’s projects?

Do you want a more organized and efficient way to keep track of tasks and deadlines? Look no further than Microsoft Planner!

With features like task assignments, file attachments and team conversations, Microsoft Planner is a one-stop shop for all your project management needs.

One of the best things about Microsoft Planner is its flexibility. It’s easy to customize your plan to fit the needs of your specific project and team.

You can create custom fields, choose different “buckets” to categorize your tasks, and even change the background color of your plan to match your company’s branding.

In addition to its customizable features, Microsoft Planner also offers a variety of ways to collaborate with your team.

You can have conversations about specific tasks, attach relevant files and documents, and even see an overview of upcoming tasks and deadlines on the calendar view.

But with great power comes great responsibility (or something like that), and it’s important to use Microsoft Planner in the most effective way possible. That’s where our Microsoft Planner best practices come in!

Is Microsoft Planner Right for you?

Microsoft Planner is just one of the many incredible apps in the Microsoft Teams ecosystem that help organizations use Teams as their central hub of communication and collaboration.

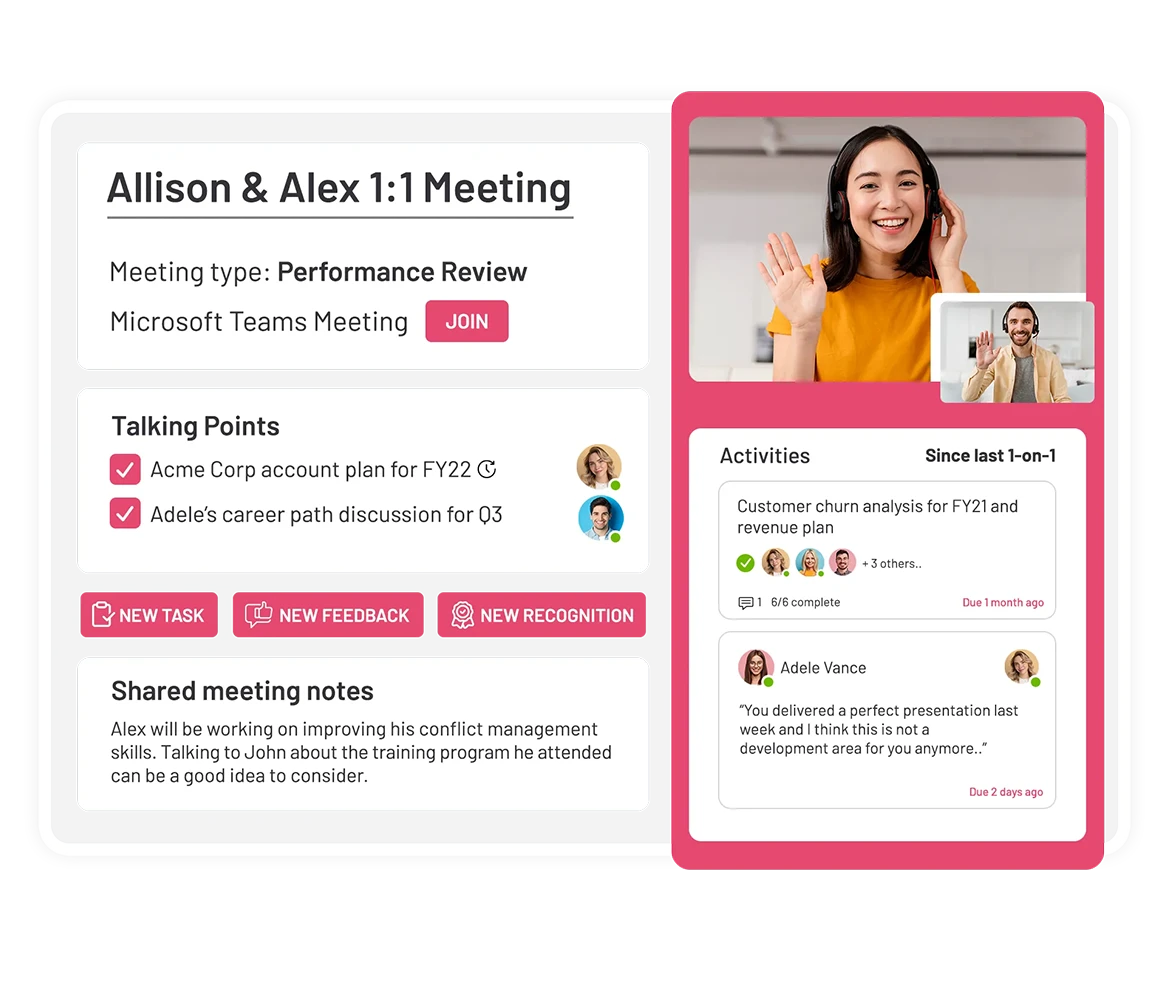
Microsoft Planner is best when it is used in conjunction with other Microsoft Teams applications. The best partner for Microsoft Planner by a long shot is Teamflect.

As an all-in-one performance management tool for Microsoft Teams, Teamflect’s tasks integrate with Microsoft Planner’s but Teamflect brings a plethora of other features to the table such as goals, performance reviews, employee engagement, meeting agendas, and more!

Manage performance inside Microsoft Teams
No sign-up required.
Teamflect Image

Microsoft Planner Best Practices

1. Setting Up: Set the right tone from the very start!

Microsoft Planner best practices: Two new Microsoft Planner features to help you surface and organize your tasks - Microsoft Community Hub

Once you’ve decided to use Microsoft Planner for your team’s project management, the next step is to set it up for maximum efficiency. Here are some best practices for getting your Microsoft Planner plan off the ground:

  1. Create a new plan: To get started, click on the “Create a new plan” button in the top right corner of the Microsoft Planner homepage. Give your plan a name and a brief description, and choose a group or team to associate it with.
  2. Add members to your plan: Now it’s time to invite your team members to join the plan. Click on the “Add members” button and enter the email addresses of the people you want to invite. You can also add a personal note to the invitation if you’d like.
  3. Customize your plan’s layout and fields: Microsoft Planner offers a variety of options for customizing the way your plan looks and functions. You can choose different “buckets” to categorize your tasks, add custom fields to your tasks, and change the background color of your plan.

2. Tasks: The ins and outs of task setting in Microsoft Planner

We can’t talk about Microsoft Planner best practices without discussing tasks! Now that you’ve set up your Microsoft Planner plan and invited your team members, it’s time to start getting things done.

Here are some Microsoft Planner best practices for setting and organizing tasks.

Make sure you have a clear purpose for every task.

When working on tasks, it is important to have a clear purpose for every task. This step can help you stay focused and eliminate unnecessary work.

You should ask yourself:

  • What is the purpose of this task?
  • How will this task contribute to our overall goal?
  • How long should I expect this task to take me?

Be specific and clear when creating tasks.

It’s important to be as detailed as possible when creating tasks in Microsoft Planner. Make sure to include all relevant information, such as deadlines, required resources, and any dependencies on other tasks.

This will help your team understand exactly what needs to be done and when. Who would have guessed that Microsoft Planner best practices were this close to actual leadership best practices?

Use a system for labeling your tasks.

A great way to manage your planner is to use a system for labeling your tasks. This can be as simple as using the labels that are built into the Microsoft Planner, or you can build your own system using the color-coding tabs and other features of the software.

For example, if you know that certain projects always take longer than others and/or have more frequent deadlines, then you might choose to label them “big projects” or “urgent” so that they stand out when you’re looking at all of your tasks in one place (instead of being buried under a pile of minor task assignments).

Delegate and add comments as much as possible (but not too much).

The Union of Tired Interns

Delegation is a great way to get things done. If you’re not sure if you should delegate a task, ask yourself:

  • Does this task require skills that aren’t my strengths?
  • Can someone else do it better than me?
  • Is there someone on my team who has the time and skills to complete this project without disrupting their workload or creating delays in other areas of their work?

If you answered “yes” to at least one of these questions, then go ahead and delegate! When delegating, make sure that the person who will be working on your delegated tasks has access to Microsoft Planner—if they don’t have their own account they will need temporary access granted by another user (like you).

You can add comments when delegating so that everyone involved knows what needs to happen next in order for the project to be completed successfully.

In addition to the calendar, you can use the planner’s checklists and files to help keep your tasks organized and make sure they are completed.

3. Making Use of Checklists & Files

Checklists are handy tools that you can use to track your progress on a project or task. Using them is essential when it comes to Microsoft Planner best practices.

When you create a checklist, it will show up in the planner’s sidebar next to all of your other calendars and lists. You can then add individual tasks as items on this list so that at a glance, you’ll know how much work is left for each item on your agenda.

Files allow you to save any kind of documents or files related to a project in one place—you don’t have to worry about where those documents went when they were last used!

Files can be shared with other users so that everyone working together has access when needed (and no more lost documents). Files also allow tagging which means easy searching later if need be.

4. Don’t rely solely on Microsoft Planner

The planner is not a replacement for email or chat software like Slack and Microsoft Teams. Use these other tools when appropriate; they remain critical ways of communicating with team members about individual tasks or project updates that don’t require input from others (like changes in meeting times).

Quality Of Life Improvements

Now that you’ve got the basics of using Microsoft Planner down, it’s time to take things to the next level with some advanced Microsoft Planner best practices.

Here are a few of our favorite ways to get even more out of this powerful project management tool:

  1. Integrate with other Microsoft 365 apps: If you’re using other Microsoft 365 apps like OneDrive or Teams, you can easily integrate them with Microsoft Planner to get even more out of your workflow. For example, you can attach a OneDrive file to a task, or use Teams to have a conversation about a specific task.
  2. Use Microsoft Planner on mobile devices: Don’t let your work get left behind when you’re on the go! Microsoft Planner has apps for both iOS and Android, so you can stay on top of your tasks and projects no matter where you are.
  3. Use third-party integrations to enhance functionality: There are plenty of third-party apps and integrations that can help you get even more out of Microsoft Planner. For example, you can use a tool like Planyway to get a more visual representation of your tasks and deadlines or integrate with a time-tracking app to keep better track of your team’s work hours.

Teamflect

Microsoft Planner Best Practices: Goal module screen of Teamflect in Microsoft Teams with one active goal

Speaking of integrations and Microsoft Teams, we have to let you know that Teamflect is one of the best integrations possible for both Microsoft Teams and Microsoft Planner.

Teamflect is an all-in-one performance management solution that will be the perfect bridge between your Microsoft Planner and Microsoft Teams.

Sporting one of the best Microsoft Teams integrations this side of actual Microsoft Software, Teamflect provides its users with incredible features that cover some of the bases that Microsoft Planner doesn’t.

With task setting, OKR tracking, and Microsoft Teams project management capabilities rivaling those of Microsoft Planner’s own, Teamflect supplements them with great employee engagement features such as customizable recognitions and employee engagement surveys!

Microsoft Planner Features

The best way to know if Microsoft Planner is the right task management tool for you, we should look at Microsoft Planner features as a whole.

Microsoft Planner has many great features for you to use in your next project where we will discover in the next part of our Microsoft Planner best practices guide!

1. Task Management

The best and the most obvious feature of Microsoft Planner is task management. You can create tasks, assign them to team members, set due dates, and add detailed descriptions or checklists using Microsoft Planner.

Since the software comes with a simple drag-and-drop interface, tasks can be easily organized into different buckets or categories, allowing your team and you to visualize your project progress at a glance.

2. Schedule View

It’s important to see the tasks waiting for you in the next few weeks altogether, and schedule view feature of Microsoft Planner does that. You can get a great view of your project status by switching to schedule view where you can plan ahead and meet deadlines easily.

Microsoft Planner Best Practices: Microsoft Planner schedule view

3. Due Date Reminders and Notifications

We are almost 100% positive that everyone looks for due date reminders and notifications to team members that will make sure deadlines are met and tasks stay on track.

These notifications can be customized to suit individual preferences, and whether it’s an upcoming deadline or a new comment on a task, Microsoft Planner keeps your team connected and informed.

4. Charts View

Microsoft Planner offers visual dashboards and charts that provide an overview of project progress and individual task status.

The “Charts” view allows team members and project managers to track progress using visual representations like pie charts or bar graphs.

Microsoft Planner Dependencies

Dependencies form the backbone of project management by defining which tasks must be completed before other ones can start.

In Microsoft Planner dependencies, task dependencies establish logical connections between tasks, so that they are completed in the correct sequence.

In Microsoft Planner, task dependencies are the relationships between tasks that dictate their order of execution. There are two types of MS Planner dependencies: “Finish-to-Start” (FS) or “Start-to-Start” (SS).

A “Finish-to-Start” dependency means that a task must be completed before the dependent task can start. On the other hand, a “Start-to-Start” dependency indicates that the dependent task can start at the same time as the task it depends on.

In complex projects, it’s possible to encounter dependency conflicts, where tasks have conflicting dependencies or are blocked by external factors.

Microsoft Planner provides the flexibility to resolve these conflicts by allowing users to manually adjust task dates, change dependencies, or reorganize the project plan.

FAQ

How to add custom fields to planner tasks?

Unfortunately, Microsoft Planner does not include a built-in custom fields functionality right now. If you would like to use planner custom fields, we recommend choosing another project management software. Until Microsoft Planner add fields feature, you can use Teamflect as a substitute.

How to delete a plan in Microsoft Planner?

If you want to delete a plan you created in Microsoft Planner, first log in to your Microsoft account. Go to Microsoft Planner where you’ll see the list of plans you’ve created on the homepage.

Click on the plan you want to delete, and select the three dots on the right side of the plan name to choose Plan settings.

Microsoft Planner Best Practices: how to delete a plan

Select “Delete this plan” and confirm that you understand this plan and all of its tasks will be permanently deleted, and choose “Delete.”

Benefits of Using Microsoft Planner

We have provided you with a comprehensive guide on Microsoft Planner best practices. Now, let’s explore in which ways they can help you deliver!

1. Organizes Your Task Management

  • Microsoft Planner can help you organize, prioritize, and track your tasks to completion.
  • It ensures tasks are not forgotten which boosts overall efficiency.
  • Microsoft Planner can provide clear visibility on tasks and make urgent ones evident.
  • It helps allocate resources effectively and reduce last-minute rushes.
  • Using Microsoft Planner enables easy tracking of task statuses.

2. Visual Tools Bring Greater Interest

  • Graphical representations that Microsoft Planner provide allow quick grasping of complex data.
  • The visual tools can bring greater interest and engagement.
  • Gantt charts and Kanban boards provide visual timelines for better project management.
  • Visual inconsistencies are easier to spot which helps you reduce errors.
  • Visual data representations simplify decision-making processes.

3. Seamless Team Collaboration

  • Instant messaging and video conferencing eradicate delays associated with traditional methods.
  • Multiple users can edit documents simultaneously which ensures everyone works on the latest version of the tasks.
  • It helps you store files and data in one central location and ensures consistent access.

In A Nutshell

By following Microsoft Planner best practices, such as setting up plans with the right tone, clear task organization, and effective delegation, your teams will be able to improve their project management practices.

Task management is at the core of Microsoft Planner and it includes clear task purposes, detailed descriptions, and effective labeling systems for optimal organization.

By adopting these Microsoft Planner best practices, users will be able to optimize their project management workflows and improve their productivity.

However, you shouldn’t solely rely on Microsoft Planner best practices. You need to complement Microsoft Planner with other communication tools like email and chat software.

Teamflect is a valuable Microsoft integration partner and we offer an all-in-one performance management solution with features like task setting, OKR tracking, employee engagement, and seamless integration with Microsoft Teams and MS Planner.

Since it is one of the best Microsoft Planner integrations, managing tasks and projects will be breeze with Teamflect.

Do we sound too confident? Well, schedule a free demo with us to let us demonstrate what we are all about!

Written by Emre Ok

Emre is a content writer at Teamflect who aims to share fun and unique insight into the world of performance management.

blog thumbnail 7 1

10 Incredible SAP SuccessFactors Alternatives

PDF performance review templates

PDF Performance Review Templates: 5 Incredible Templates You Must See!